Spooky eyes in the bushes for halloween
Quick and simple arduino project. I’d like to take credit for the idea/code, but I stumbled upon it a while back on hackaday with the code found in the comments on youtube.
This post and youtube video are to help others who wish to do the same project.
The main thing I did here was to make everything in a reusable way. The Arduino, LEDs, and project boxes. Everything is designed to come apart so I can reuse the pieces for other projects.
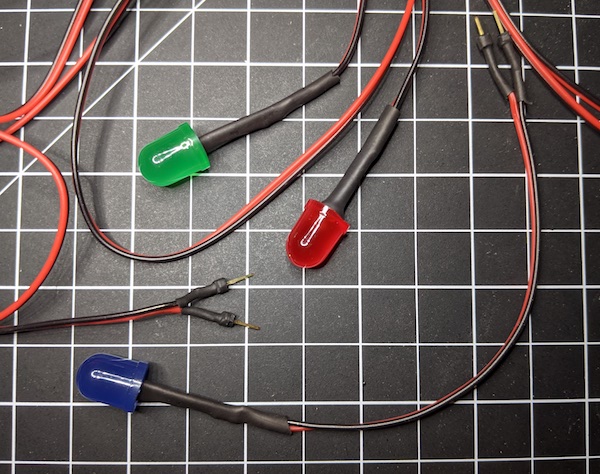
I especially enjoyed spending the time to craft the LEDs so I could reuse them for other projects. This gave me a chance to practice some soldering and use some heat shrink tubes.
One thing this picture doesn’t show is the resistors that I soldered close to the LEDs and covered in the shrink wrap. Also, each LED wire is a different length. I did this so that some of the eyes can be further away, but also so that for future projects I can grab an LED with the correct length and not be stuck with only long wires.
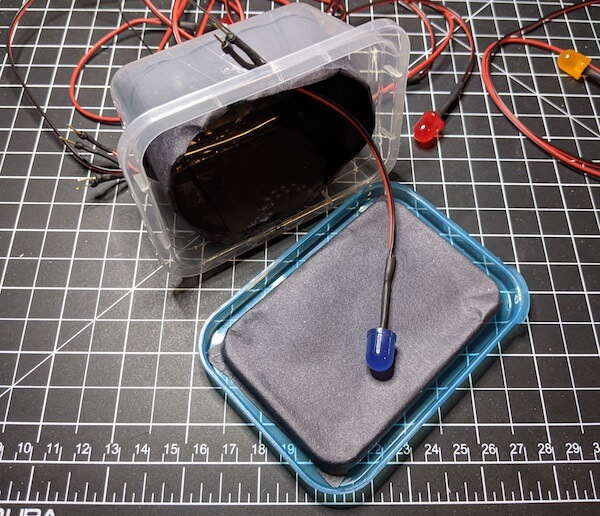
I bought cheap plastic food containers and drilled holes in them so I’d have a waterproof project container.
The inside is just black craft paper with strips of wax paper over the eyes to defuse the light (and tape of course).
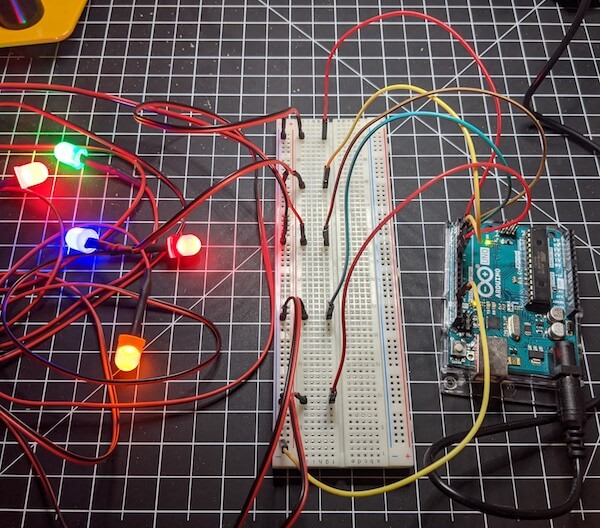
Prototyping. . .
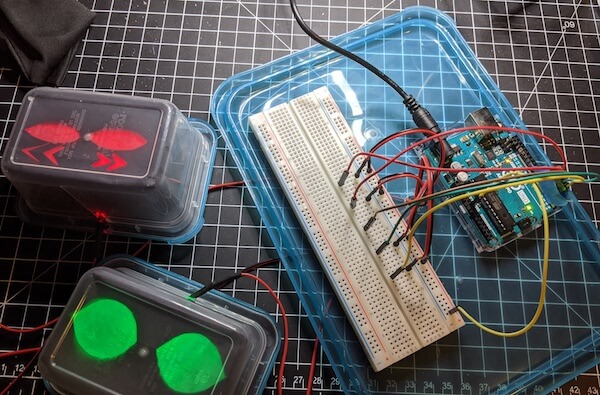
The plastic food containers came as a set with a bunch of small ones, but also a large container. I taped the Arduino and breadboard to the lid of the large container. All of the wires and power brick for the Arduino also went in this box so the only thing exposed to the elements was an extension cord.
One thing not shown in any of these pictures is that I used some Christmas ornament hangers poking out of the holes to hand each box from a twig in the bush. I suggest using two hangers spread apart a little to help keep them stable.
And last but not least, below is the code.
|
|