2020 was the year my family got into board gaming
We started by buying a couple of recommended games a step above the random outcomes of games like chutes and ladders.
Maybe it was ad targeting, but around that time I stumbled upon Wyrmwood via their Youtube channel. It was right before they launched their table Kickstarter and the timing couldn’t have been more perfect.
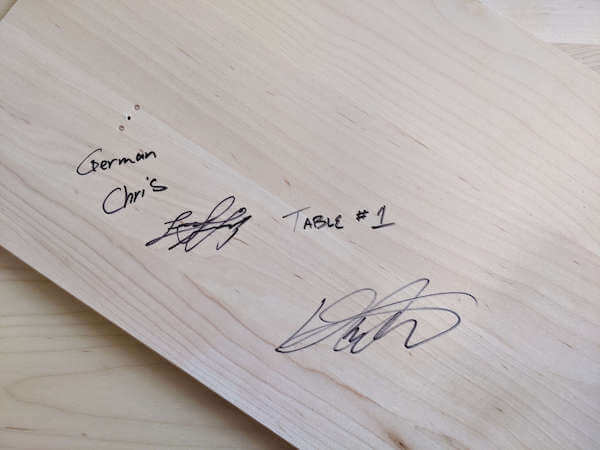
Currently the 10th most funded Kickstarter in history, I’m surprised I even got my pledge in before Kickstarter crashed on the day the campaign launched.
Somehow I did though and was one of the lucky few January wave backers to get free shipping. Even luckier than that, my table was
also the first one they built and shipped!
With all that setup out of the way, lets get started on the build.
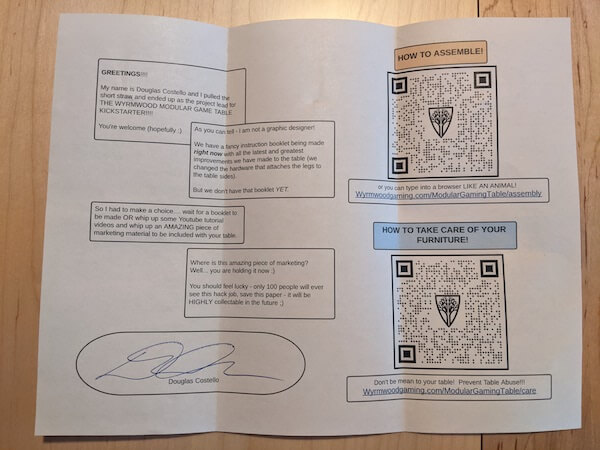
Later backers will get a fancy booklet, but for the first tables there is just this sheet with links to videos. Apparently the videos weren’t posted yet so I switched my Ikea brain on and took a stab at figuring it out.
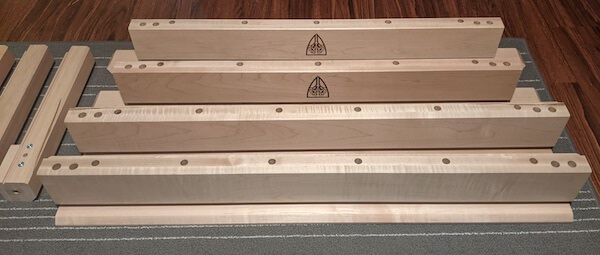
Here are the main components laid out.
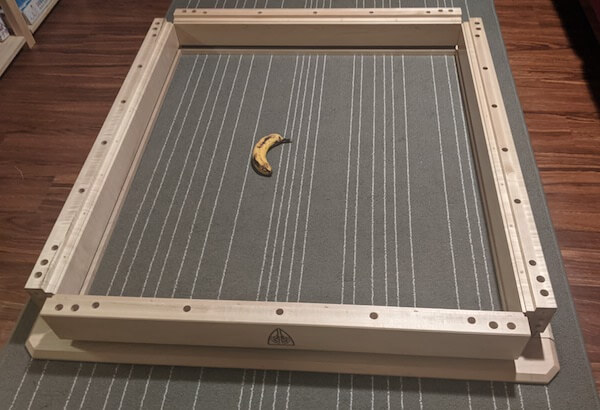
I put the frame pieces out to get an idea of how big it would be and where it would fit in our life. Banana for scale.
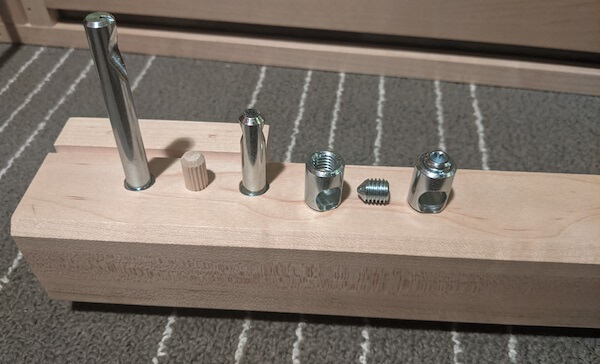
The main fun puzzle was figuring out the above. At the top of the leg there is a long pin that screws in (far left). Take note of the orientation of that large indentation as it’s important. The smaller pin after the dowel has indentations on both sides so it’s easier to orient. Moving on to the right is a metal receiver for on of the pins. See how it’s threaded? The tiny screw laying next to it goes in there so that the point of the screw meets the indentation in the pin and helps pull everything tight. Finally the last metal receiver has the screw put in so you can see those together. Notice on top we will use the supplied allen wrench.
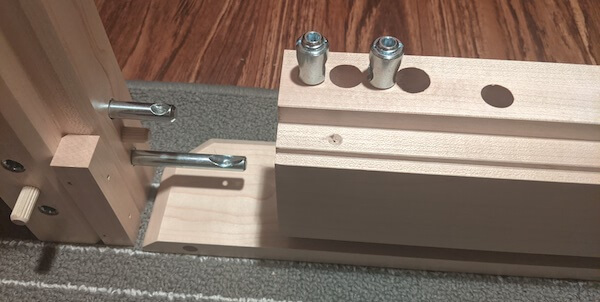
Here is a better view where you can see how the pins will insert and why the orientation of the indentations is important.
The two assembled metal receivers will drop into those two holes. Once the leg is them slid in, the allen wrench will reach into those two holes to tighten the screws. As they tightened I could see the leg visibly get pulled snug and flush.
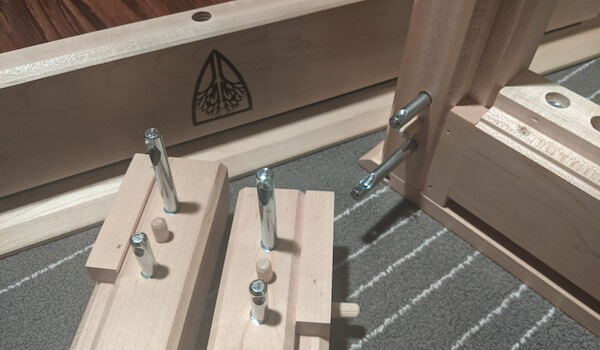
With one leg on I put the hardware in to a couple of more legs to give one final close view of how all that looks.

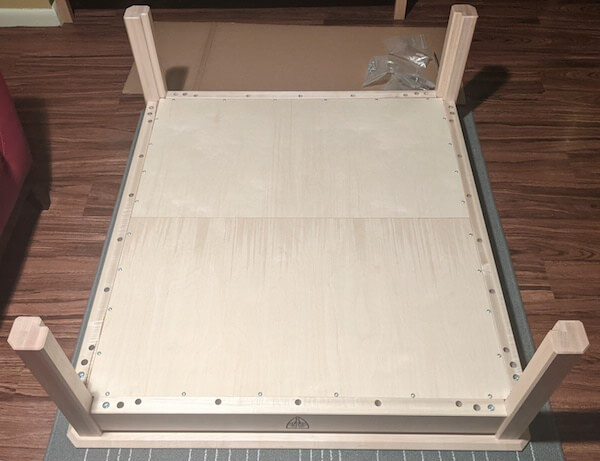
With the legs attached to the two end pieces (the ones with the Wyrmwood logo on them) it was time to do the same thing, but for the side rails.
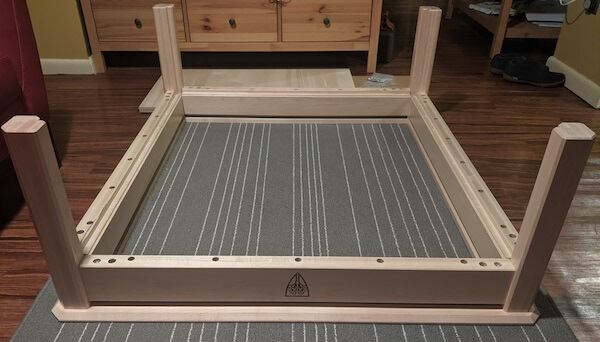
Attaching the side rails completes the frame.
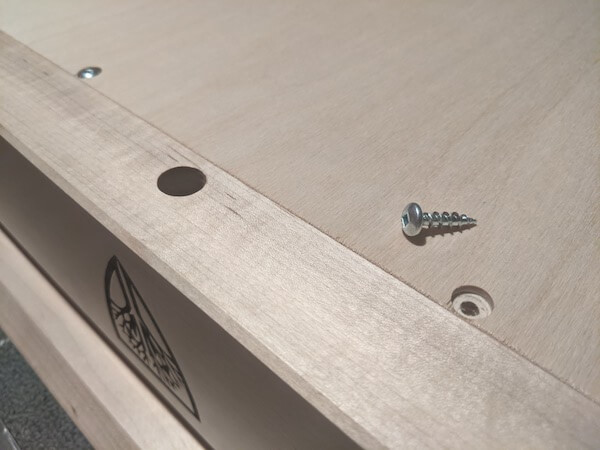
I was surprised to see the two thick plywood pieces had holes for dowel pins. I put those in one piece of plywood and dropped it into it’s groove on the table. The pre-drilled screw holes lined up perfectly and I could feel when I had tightened them enough.
The second sheet of plywood slide in nicely against the dowel pins and with a little bit of a push fit perfectly. Despite having power tools I did all these screws by hand. They didn’t take long and were easy on my forearms. (years of Ikea strength I guess)
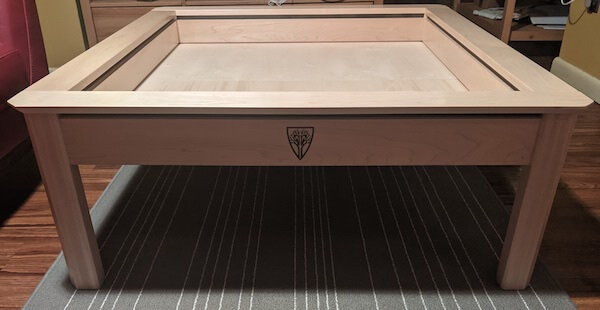
I flipped the table over and got ready for the final touches.
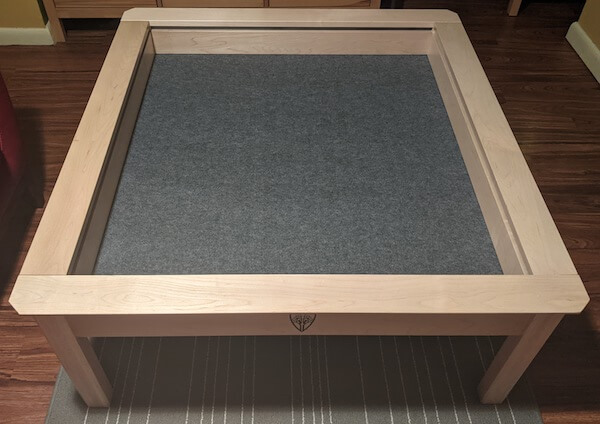
There was something about this felt, as if it were meant for a larger table. It fit perfectly and tucked under the walls of the table with the help of a fork handle from the utensil drawer.
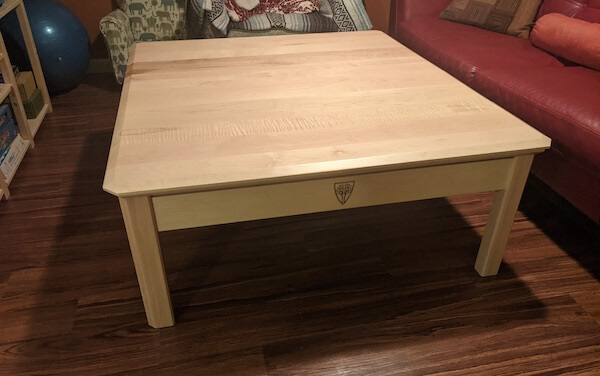
Two of the topper leaves have rubber pads with a single screw to secure them. With that done everything was finished!
Below it a video tour I made of the table with Mansions of Madness set up in the game vault.
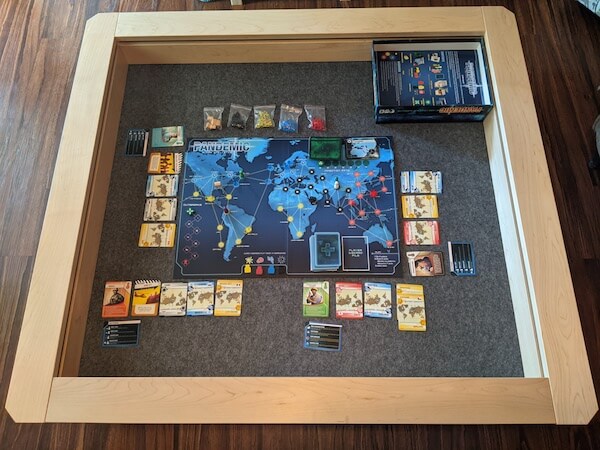
I wanted to see how 4-player Pandemic looked and the game fit very well. I’d say most 4-player games will fit perfectly in this table’s vault. Which is great for starting a game and then finishing it on another day.
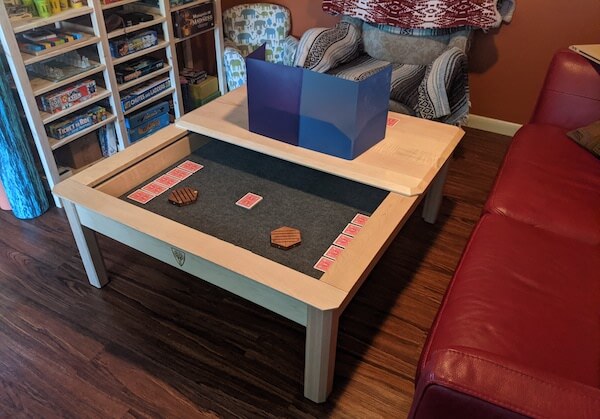
I don’t play D&D but I know a lot of people wanted to see how a makeshift DM screen setup would look for the table so I took a couple of pictures of that.
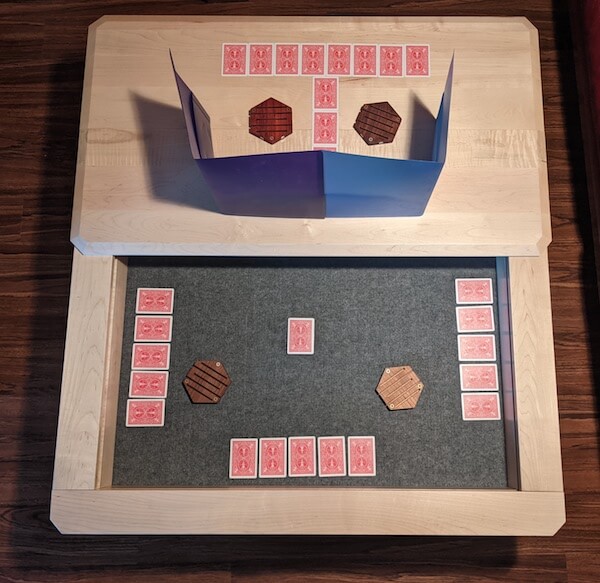
Here is the view from above. You could definitely fit everything on a single topper leaf if you needed to. Even with two leaves though, you might want to use a piece of non-slip drawer liner to keep things from moving as the rubber stoppers in this scenario will on prevent side-to-side movement and not forward movement. But with two topper leaves together they are heavy enough that I don’t think they would easily be moved.
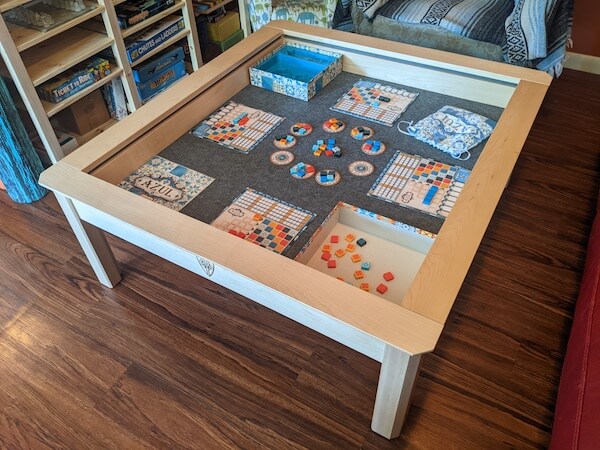
One final game to show, this is 4-player Azul which is a game my family loves and fits well on the table vault.
So with all of that done it’s time to start playing! I have to admit that my favorite game so far was figuring out assembly on my own, but then I am a lover of puzzle games.